The center part is popular for its natural look, but if it is set without any calculation, it can accentuate the weak points of the face. Especially if you have a round face, the round silhouette may be accentuated. With the cooperation of the hair salon Minx, we will introduce how to set center-parted hair without making the face look round!
CONTENTS
- You can also check out the video to see how to create a center part that doesn't make your face look round!
- If you want to avoid the appearance of a round face, this is the center part you should aim for!
- Three points to keep in mind when creating a center part for a round face
- Here are some tips on how to set center parted hair without making the face look round!
Sponsored by
You can also check out the video to see how to create a center part that doesn’t make your face look round!
The method for creating a center part that doesn’t give the appearance of a round face is also available on the official OTOKOMAE channel on YouTube. The Mink’s stylist who helped us with this project explains in detail how to do it while practicing, so be sure to check it out!
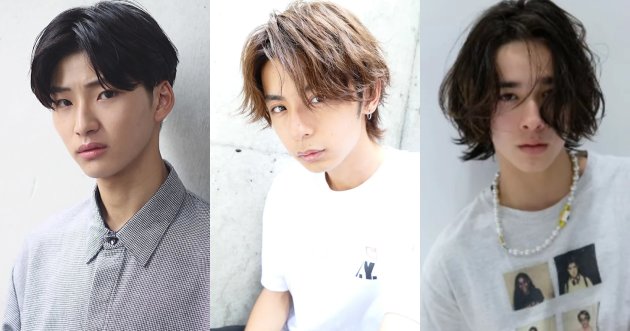
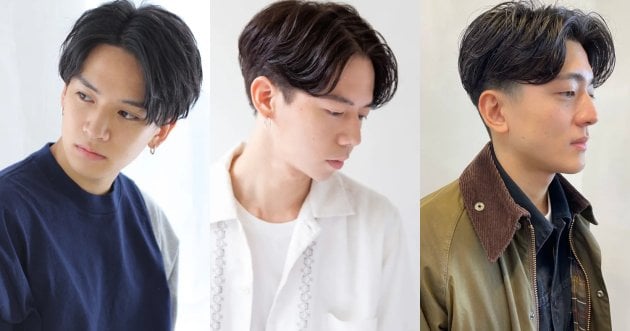
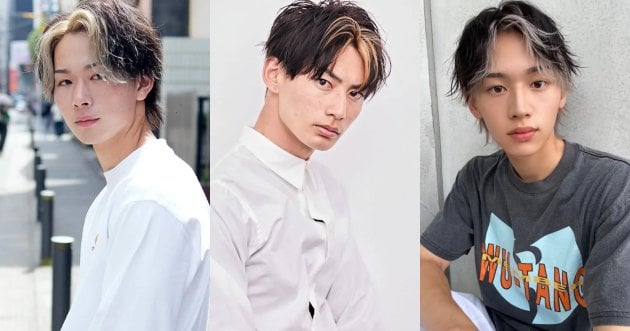
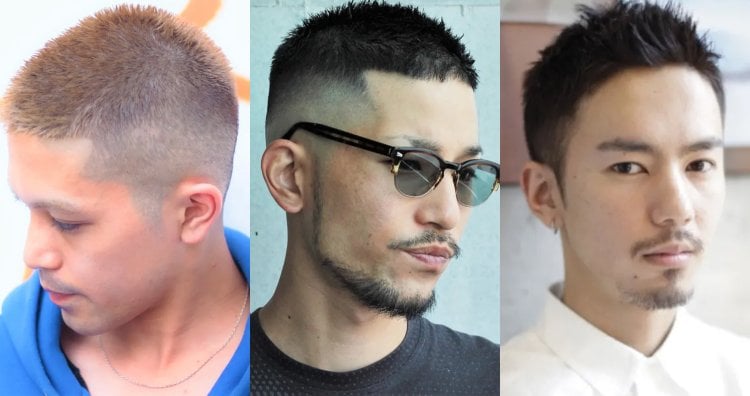
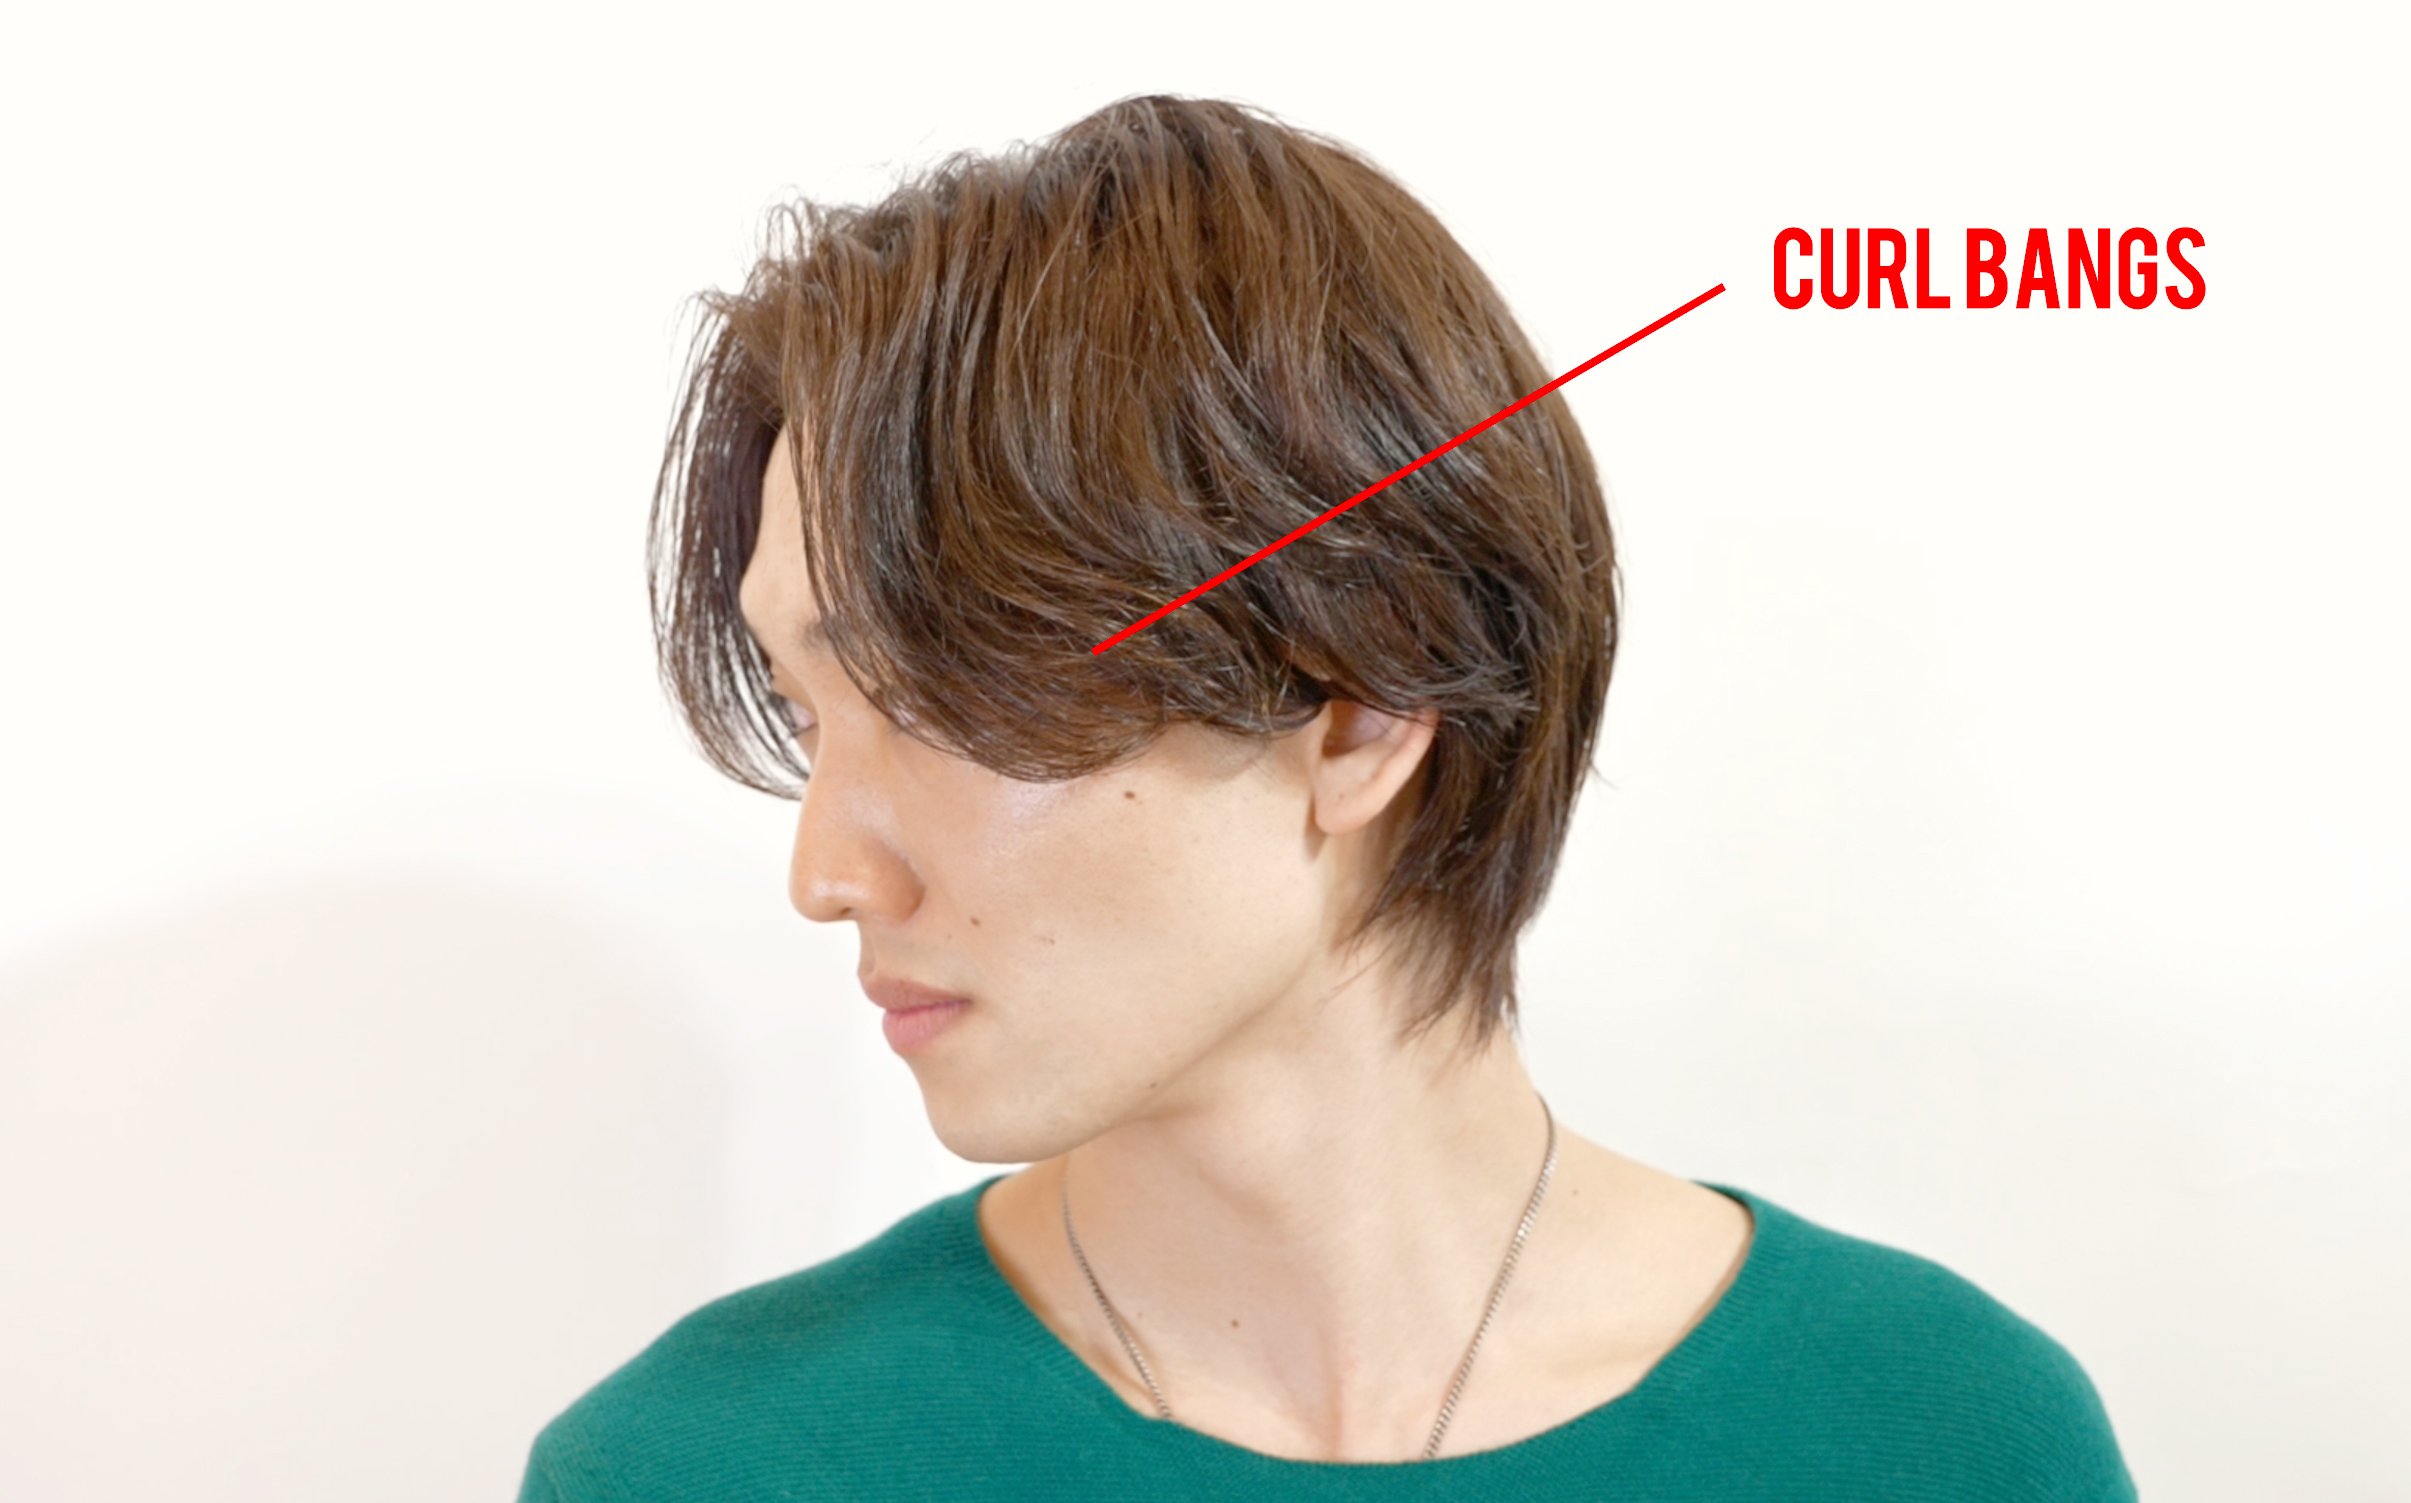
If you want to avoid the appearance of a round face, this is the center part you should aim for!
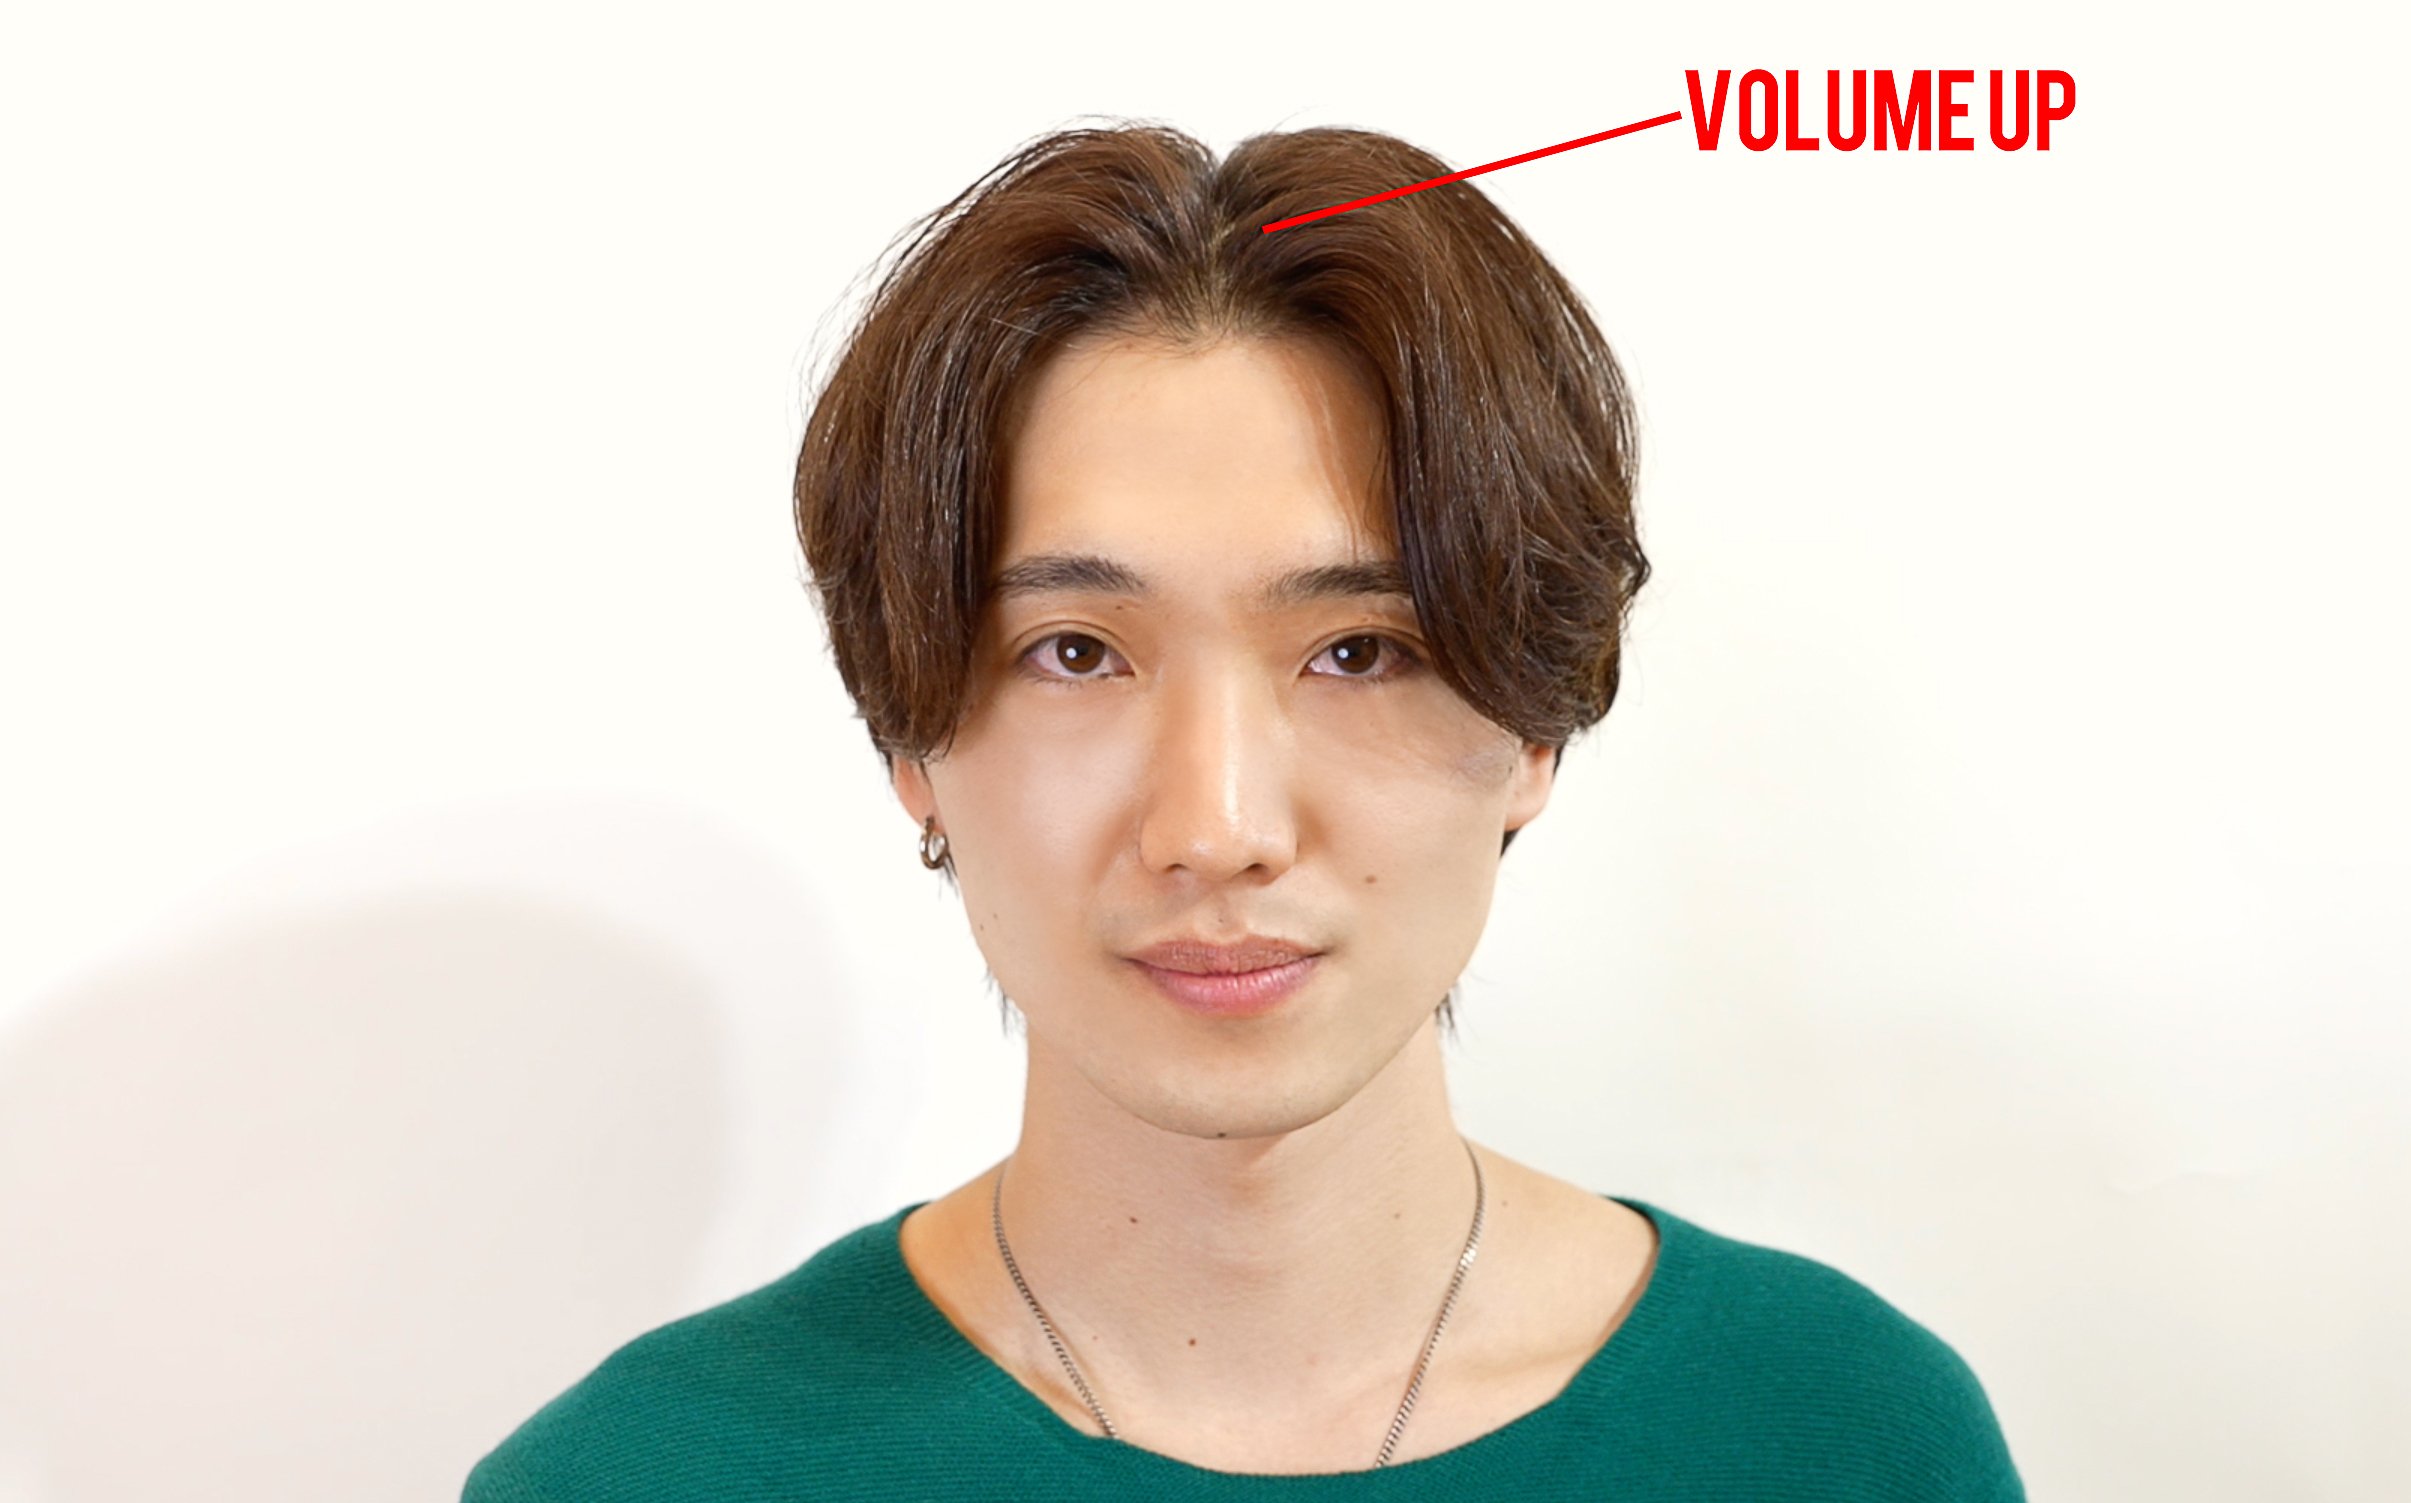
First, let’s start with the center part actually set by the stylist. When having the hair cut, it is important to ” order the length of the bangs to be about the same as the cheeks ” to cover the width of the face while emphasizing the vertical line to get rid of the rounded look. The set should be arranged to create a ” diamond-shaped silhouette like a diamond on a deck of cards. If you keep in mind the tips for setting, which will be introduced in the latter half of this article, you will be able to create a similarly styled center part.
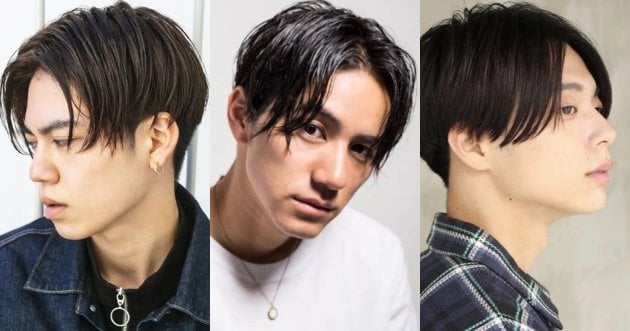
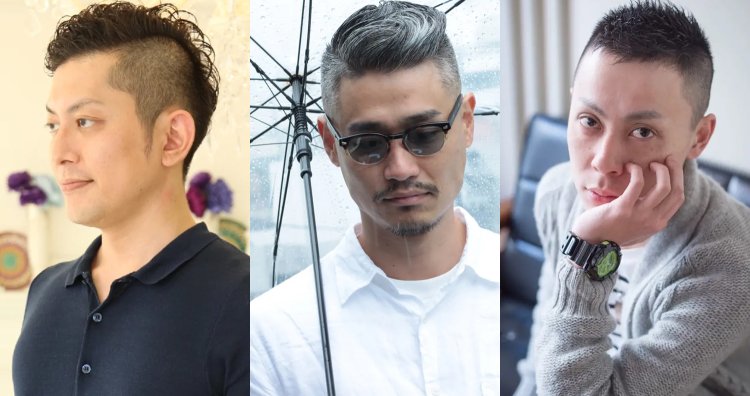
Three points to keep in mind when creating a center part for a round face
If you set your hair while keeping these three points in mind, you can easily create the aforementioned “diamond-shaped silhouette like a diamond on a playing card. This is a must for those who do not want to look round-faced!
Point 1: “Add volume at the top.
The reason why a face looks round in the first place is because its length and width balance is almost 1:1. On the other hand, the ideal face shape is an egg shape with a 1.6:1 ratio of length to width. To achieve this, the vertical line should be emphasized. From the blow-drying stage, the top of the head should be voluminous, and the amount of styling product used should be carefully selected to prevent the hair from being crushed. Also, it is important to focus on hair care on a daily basis, as hair that is strong and resilient tends to stand up from the roots.
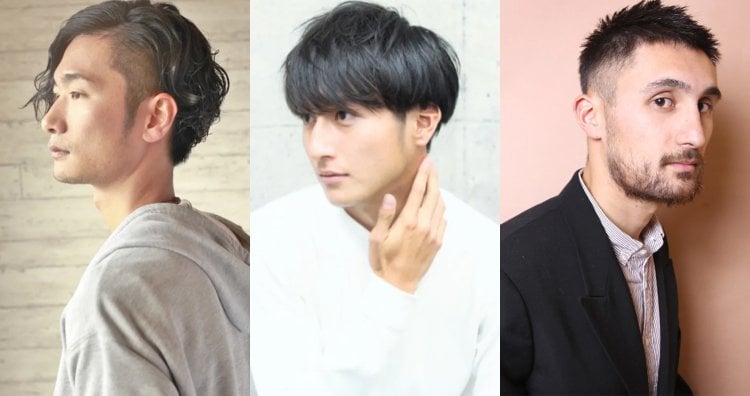
Point.2 ” Make the hair flow and look sharp around the face.
While creating volume at the top, it is also important to take care of the width of the hair to balance the aspect ratio. The technique to be practiced here is to add movement around the face. The details of how to do this are described below, but it is easy to create a flow of hair using a hair dryer or a hair iron. Even clumsy hair stylists can imitate this technique if they know how to do it, so be sure to check out the article.
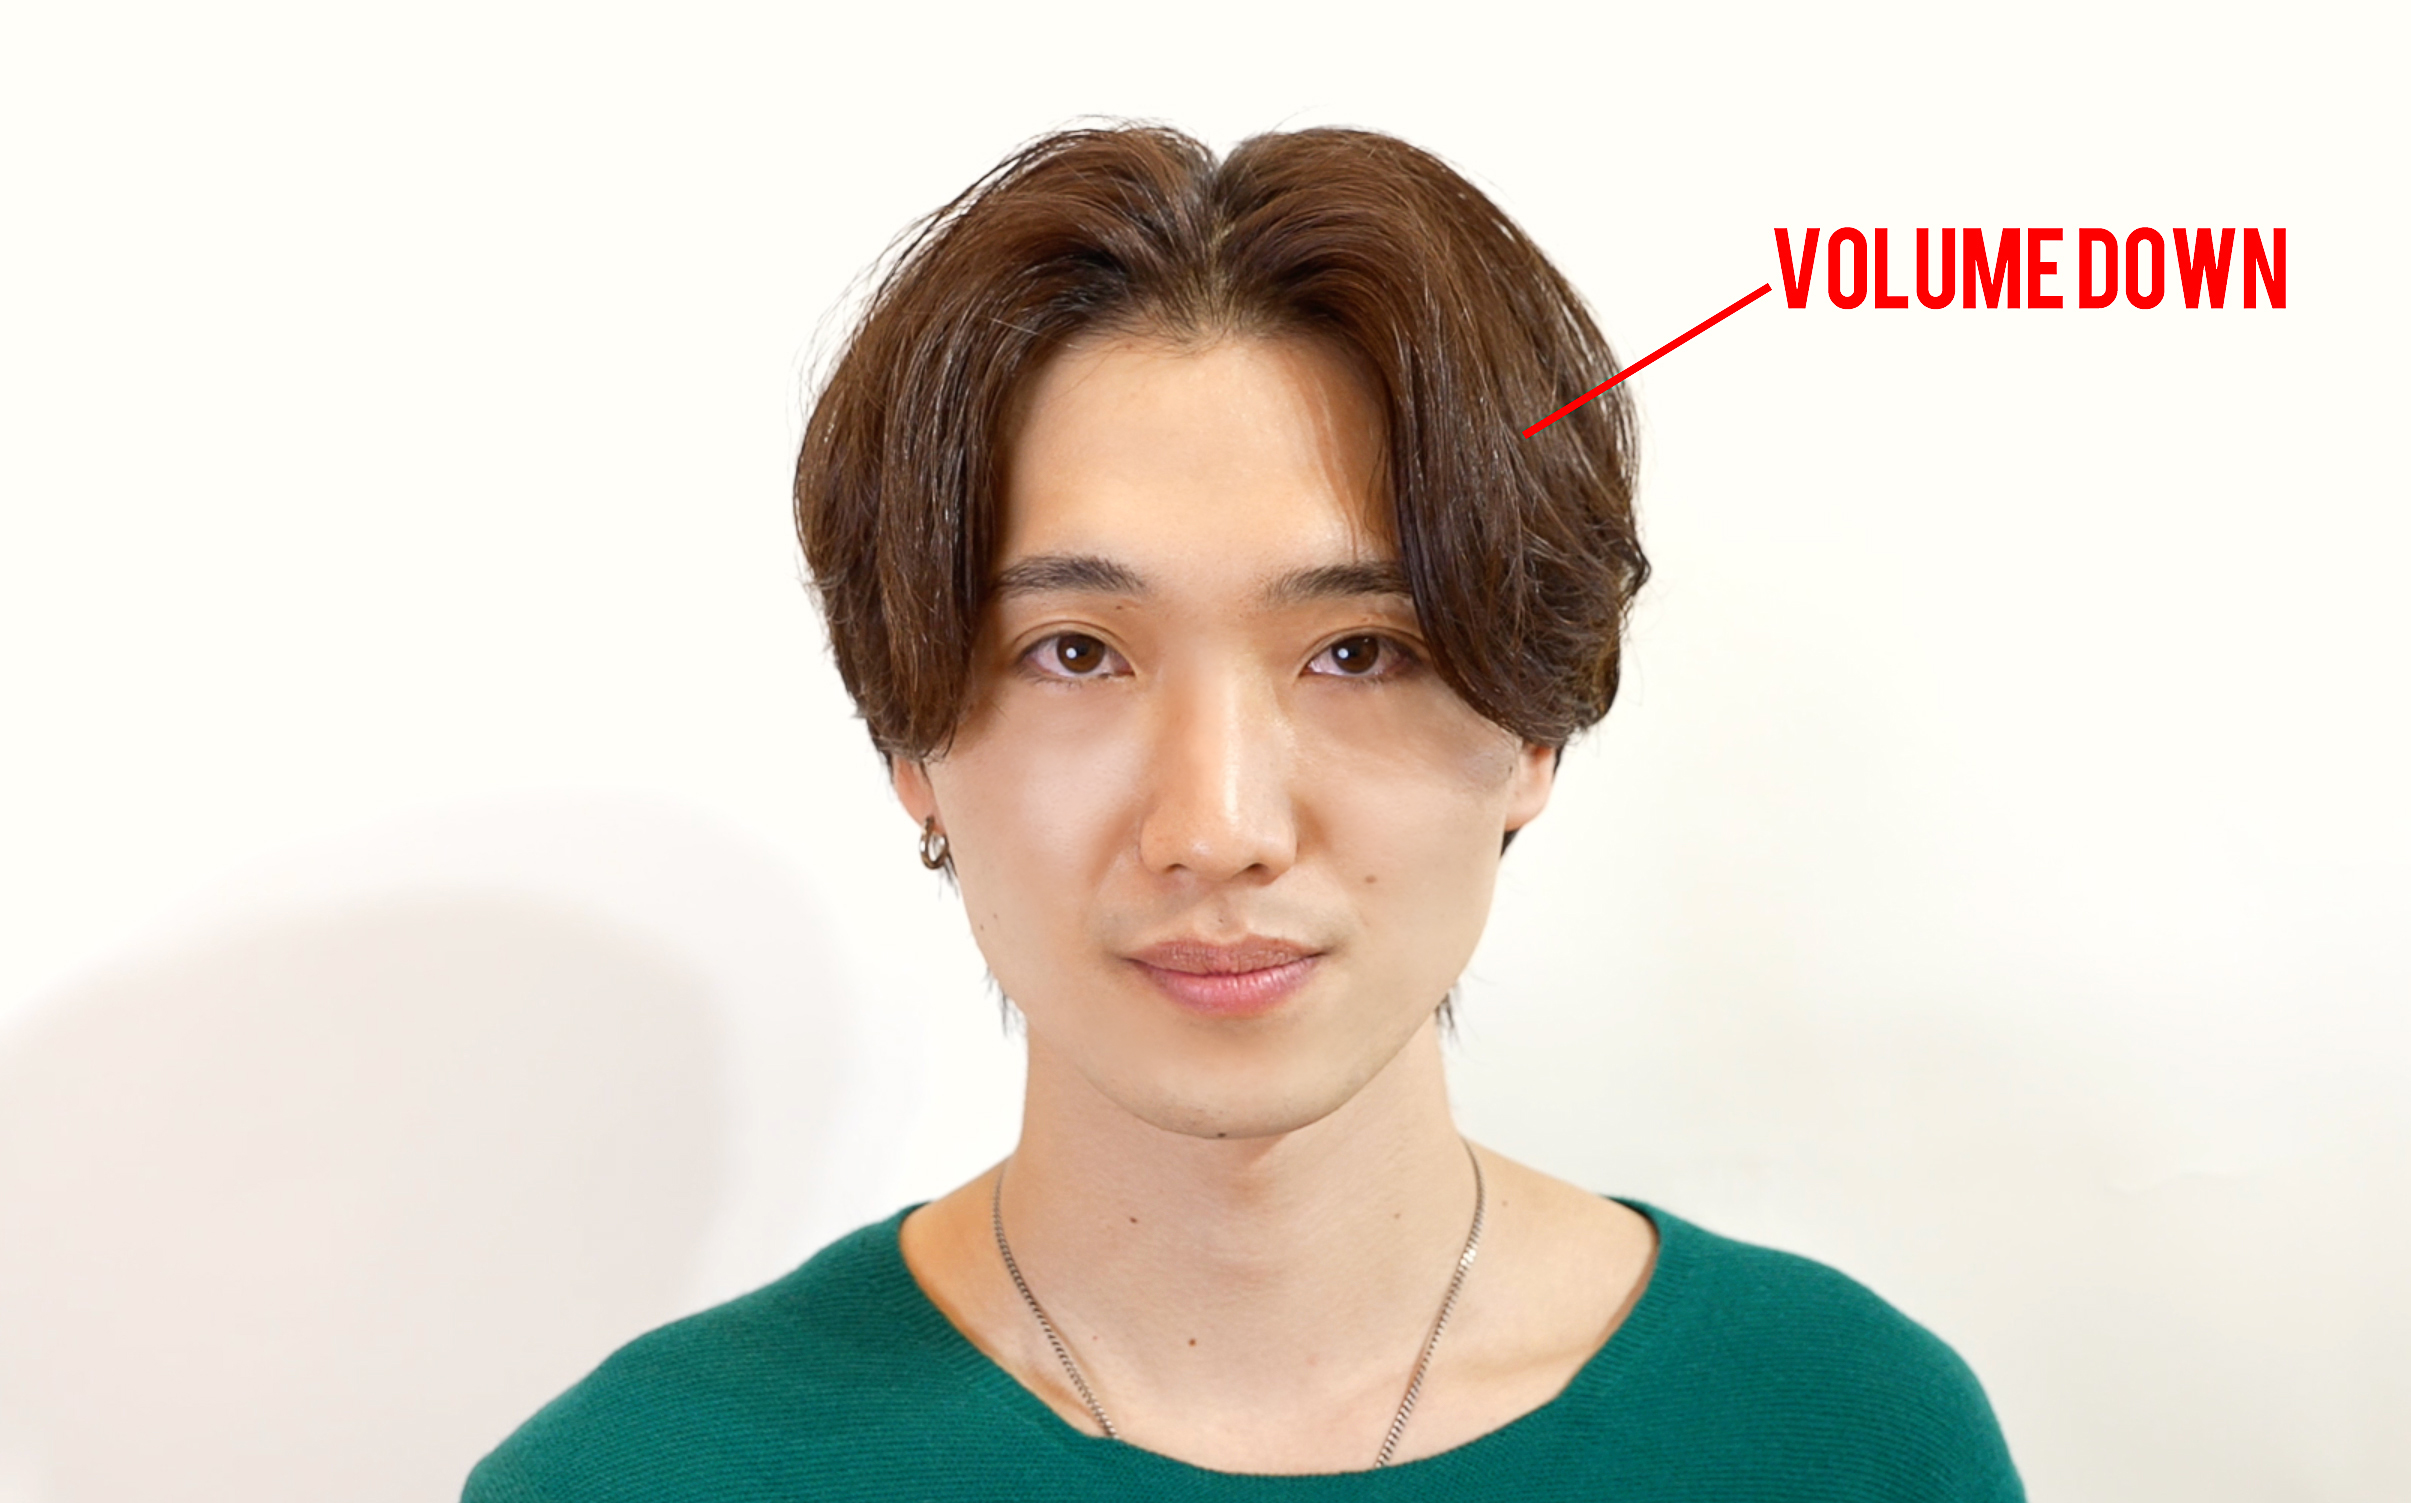
Point.3 ” Keep the volume at the beehive “.
The hachis is the part between the top and sides of the head that protrudes the most. It is said that many Japanese have a skeletal structure with a protruding hachis. Without taking care of this protrusion, it is impossible to create a ” long, diamond-shaped silhouette ” and the hair will look like a big head, so it is essential to keep the volume down. This is important not only for the center part, but for other hairstyles as well, so it is important to keep it in mind.
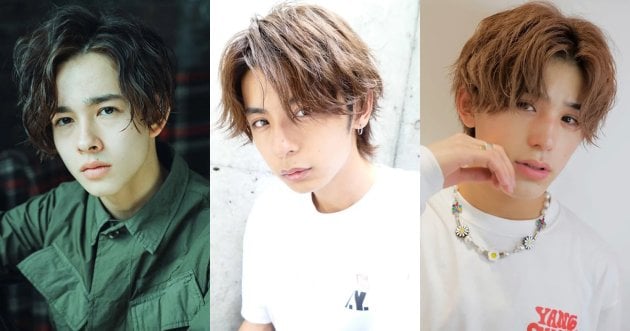
Here are some tips on how to set center parted hair without making the face look round!
From towel drying to using styling products to complete the hair set. The techniques taught by Minkus stylists are all helpful and easy to imitate, so be sure to check them out.
When towel-drying, “dry the root of the hair as if wiping the skin.
Start by wetting the entire hair and towel-drying it to reset the hair’s kinks. If it is too much trouble, you can wet only the parted ends and the top of the hair. The key here is to “wipe the root of the hair as if you were wiping the skin. This is not particularly necessary to create a good-looking center part, but it will facilitate the blow-drying process that follows.
Blow-dry hair while lifting it up to create volume.
Once the hair has been wiped dry to a certain extent, blow-dry it with a hair dryer. While drying the hair thoroughly, create volume at the parted ends. To make the hair stand up firmly, apply warm air to the root of the hair while pulling upward. What you want to keep in mind here is to set the area to stand up to about 2~3 fingers. This process is essential for creating a vertical, diamond-shaped silhouette, which creates height at the top while minimizing the spread of hair to the side.
The edge of the hair is “dried toward the front” to create a sharp silhouette.
Once the volume of the parted ends has been created, the next step is to cover the borders of the hair. Dry the hair toward the front of the head to reduce volume and create a sharp silhouette. It is also effective to use the palms of the hands to hold the hair in place.
To make the face look sharper, “tuck the ends of the bangs back.
Once the hair is thoroughly dried, the next step is to create a flow of hair. The hair dryer and the hair iron are both used to create the hair flow, but either can be used for the actual hair setting.
How to make hair flow [ Hair dryer version
Set the hair dryer to low wind (or SET mode), apply warm air to the ends of the hair between the fingers for 4~5 seconds, and let it cool slowly. This will create a loose curve at the ends of the hair and make the bangs flow backwards. The trick is to point the ends firmly in the direction you want them to flow. If you make a mistake, you can always wet the hair and start over, so by all means, give it a try.
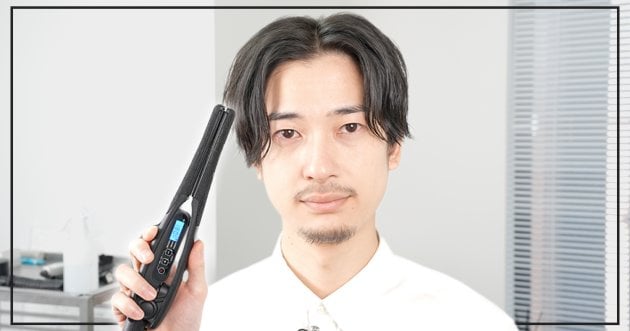
How to make hair flow [ with a hair iron
When using a hair iron, the best temperature is 160 degrees considering the damage to the hair, but if the hair is stiff, set the temperature to 180 degrees. Once the plates of the hair iron are warm, take a bunch of bangs, pinch them in the middle, and twist them toward the ends in the opposite direction from the direction of the face. If you take a bunch of hair at once, it will not be heated properly, so it is recommended to take a small amount of hair at a time.
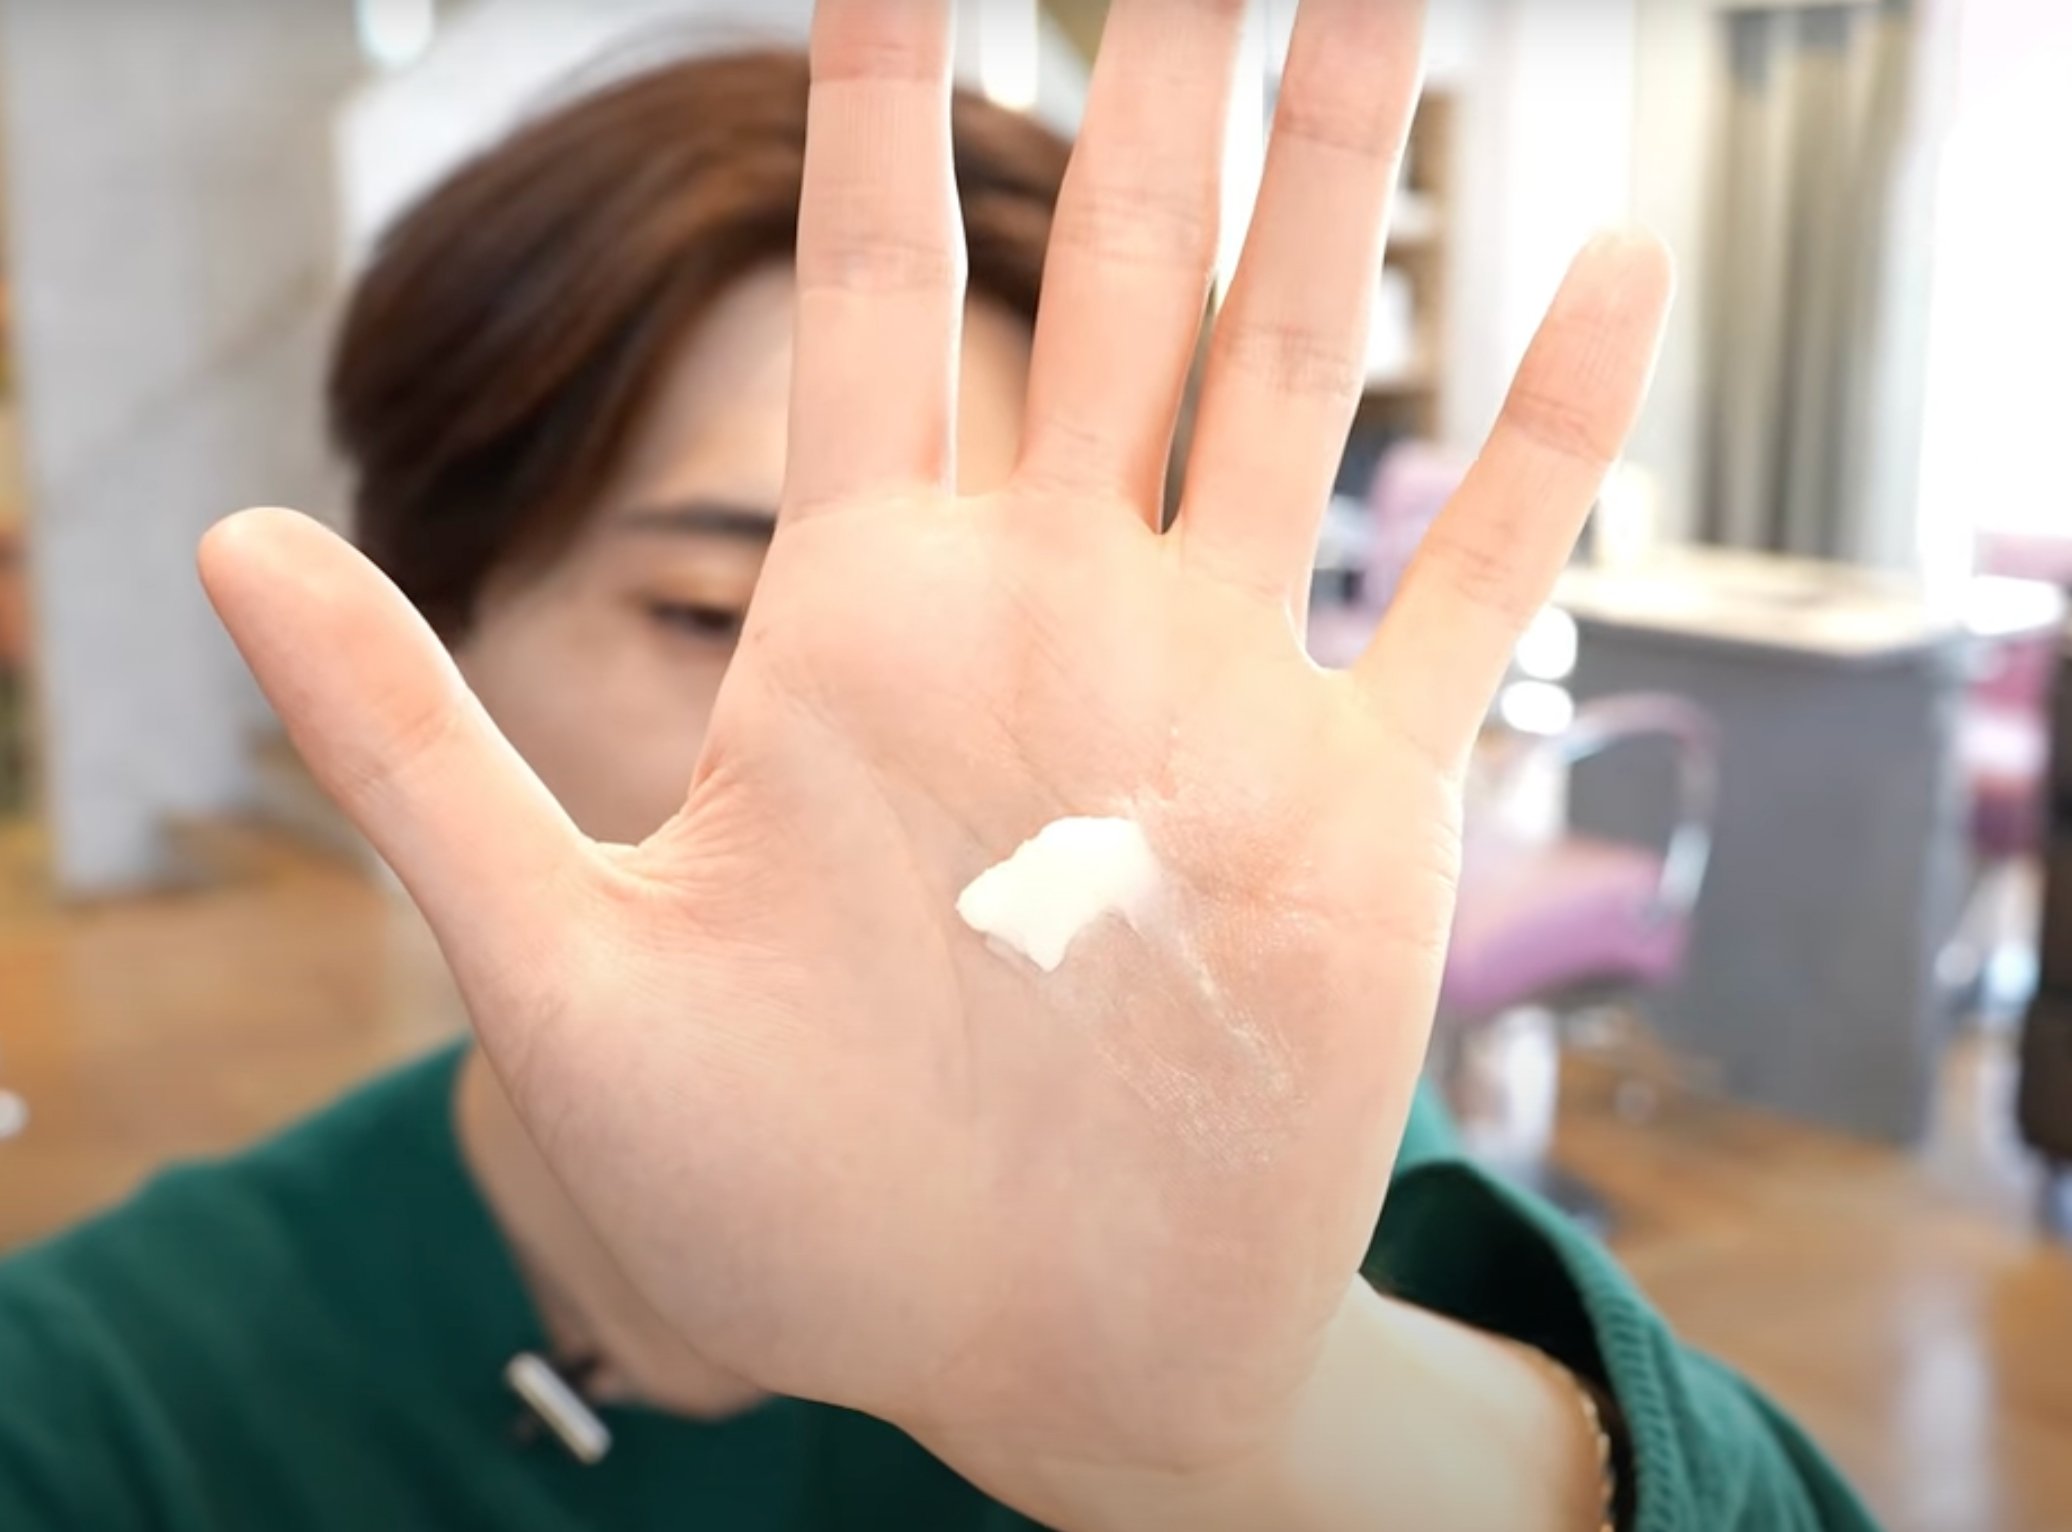
The key to styling products is to “separate the areas to be styled from the areas not to be styled.
The last step is to use styling products to set the hair. To add a wet and bundled look, a hair balm is used for styling this time. Use about the first knuckle of your pinky finger. Warm the balm in your hand and spread it between your fingers. If you are worried about stickiness, try a small amount at a time.
When the hair balm is extended and becomes transparent, apply it to hair as if you are shampooing, starting from the ends. Apply the balm to the parted ends of the hair as well, but as when blow-drying, apply about three fingers of balm, and do not apply balm to either side of the hairline in order to create volume. Also, by turning up the top part of the hair and blending it into the root of the hair at the beehive and holding it back, a vertical, diamond-shaped silhouette can be created. The final step is to trim the ends of the hair.